Step 1
An opt-in is a must on any Success website. After all, this is how you build your mailing list.
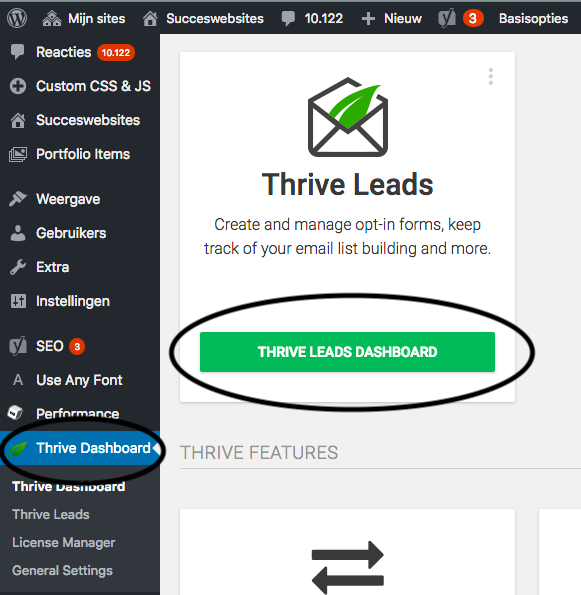
Thrive-Leads plug-in
Every Success website is equipped with the Thrive-Leads plug-in. This plug-in allows you to create nice opt-in forms. At first, the plug-in can still seem quite complicated, but you get used to that.
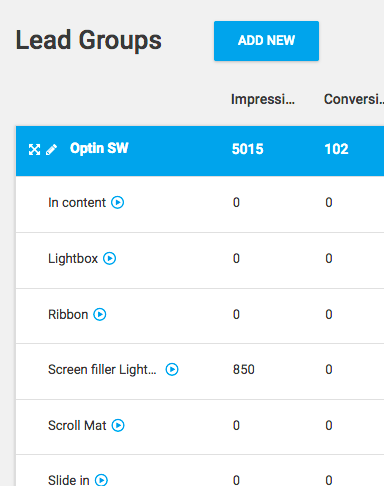
You work within this primarily with the Lightbox or Widget. To create a Lightbox or Widget go to Thrive Leads -> Thrive Leads Dashboard -> Add New Leadgroup -> open newly created folder and there will be the Lightbox and Widget. To edit them, right click on the notepad.
Step 2
Now you have to choose whether you want a Lightbox, a Widget, or both.
Lightbox
The Lightbox is a pop-up opt-in that can pop up on certain pages.
Widget
The widget is fixed on the pages and posts where you place it.
Step 3
Setting up the form
On pages:
On pages, use the content element "Widget space" to display a widget. Drag this element to the desired location.
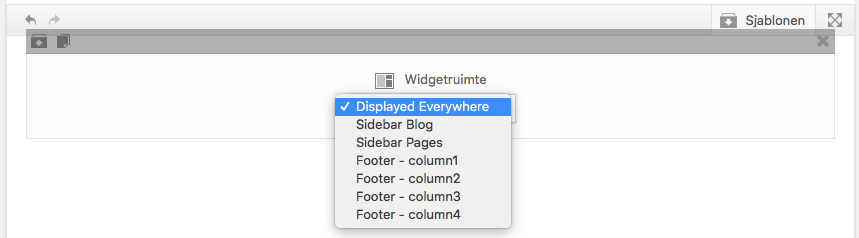
As you'll see, you can't edit these except to choose which Widget to display. Read the next section on "In posts or in the footer" to read how this works.
In posts or in the footer:
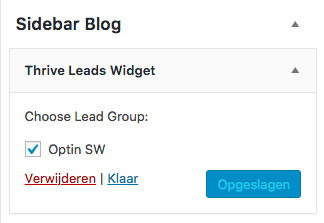
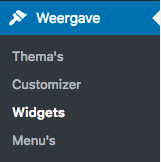
Setting up an opt-in form on posts or in the footer works through the "Widgets," which can be found under the "Display" menu.
Now scroll down until you find the Thrive-Leads Widget.
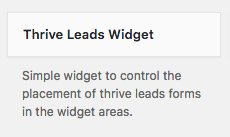
Finally, place it in the Sidebar Blog folder or one of the footer columns, top-right of the page and choose the Leadgroup: